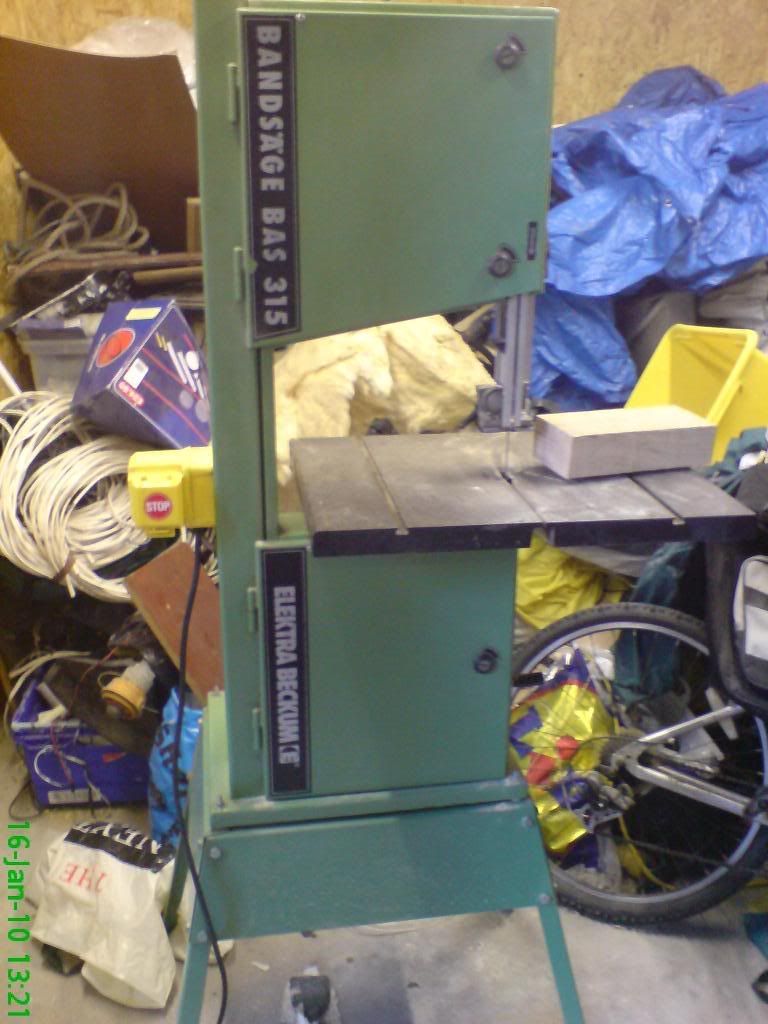
This is how it looks (if these photos look odd it is because I rotated them online).
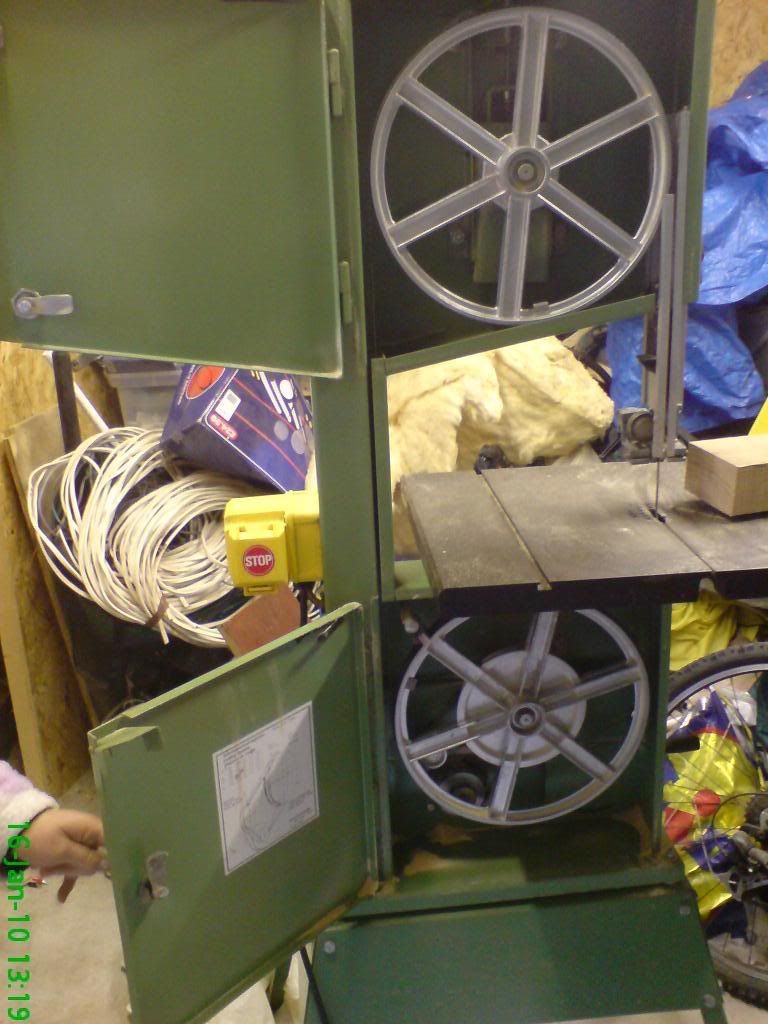
And the reason it is called a bandsaw - the blade is a band of toothed steel which runs around 2 pulleys, 1 of which is driven - in this case by a 550w induction motor.
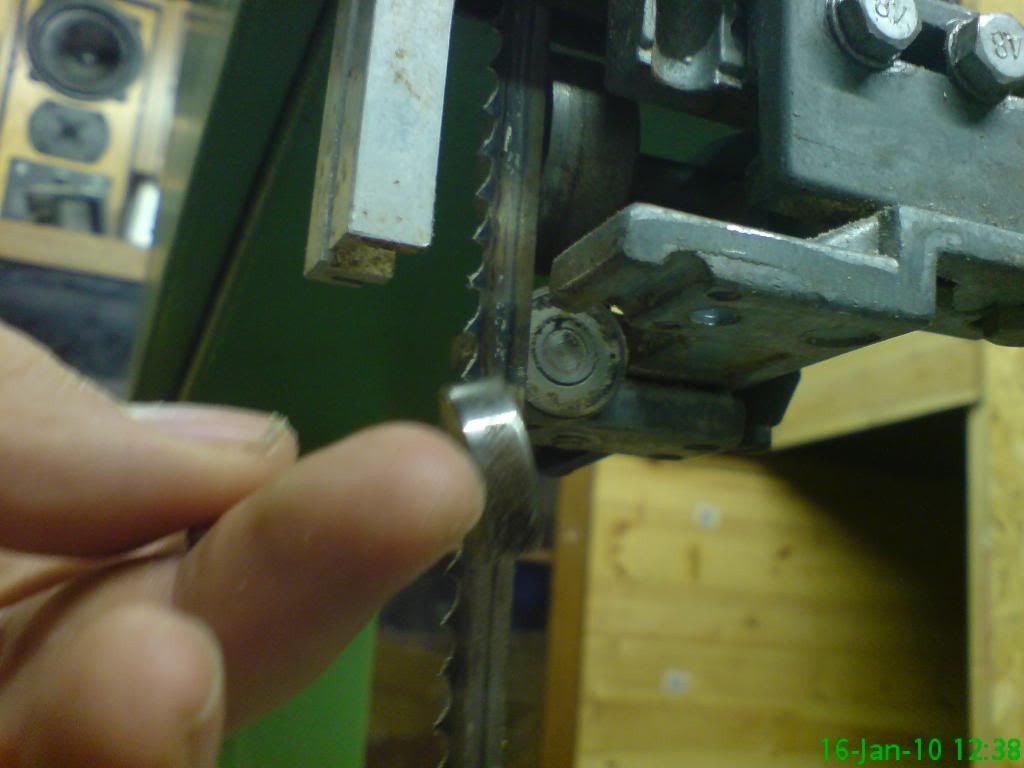
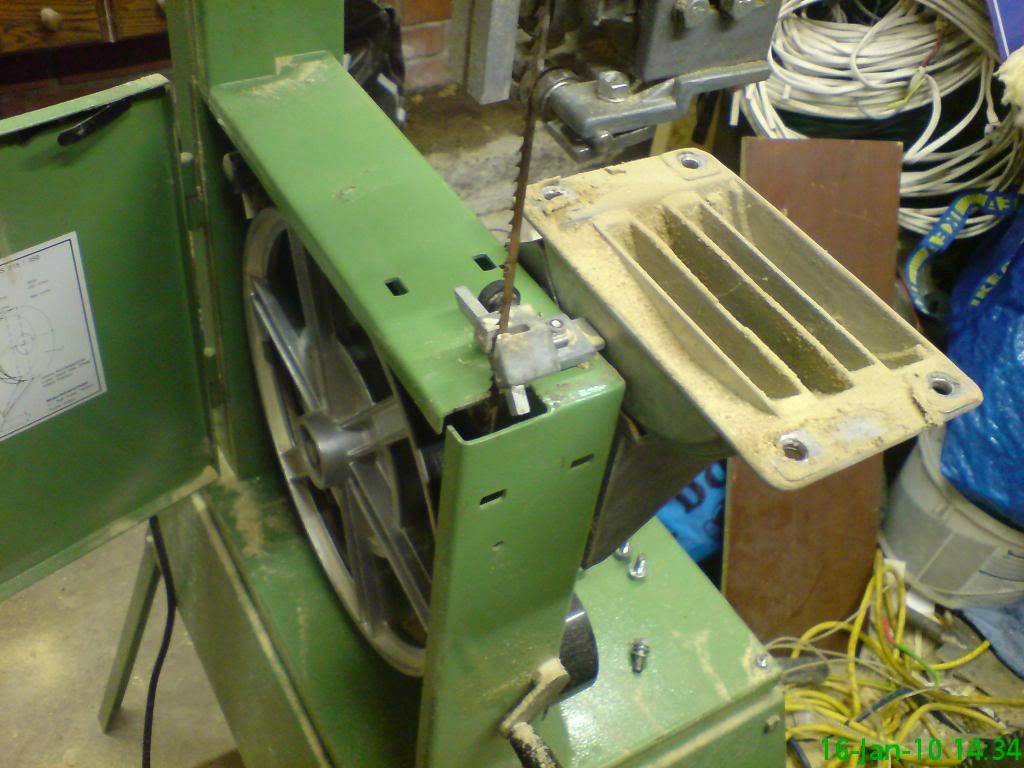
One of the top guide wheels was supported by a fractured piece of cast aluminium (rubbish material really) so I set about replacing that. Firstly the wheel, and a look under the top guide mechanism. The left wheel support is fine.
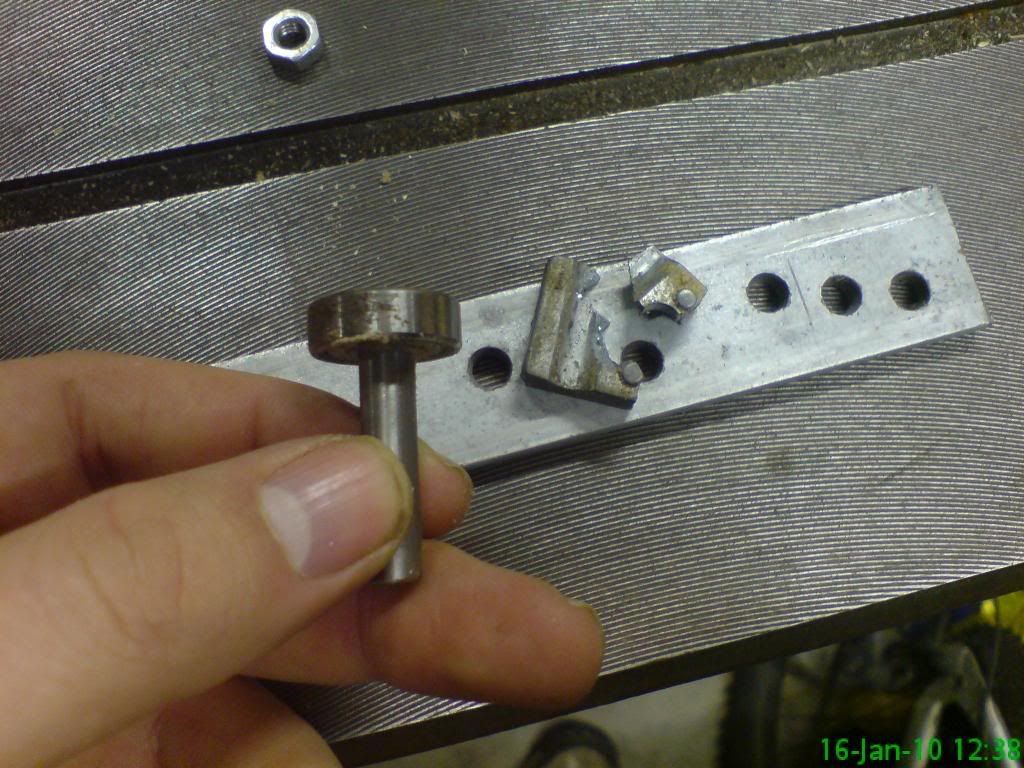
Here you can see the fractured holder, and the 1/4" metal strapping which I planned to cut to suit. The hole in the strapping both suited the bolt position and size! Nice, eh!?
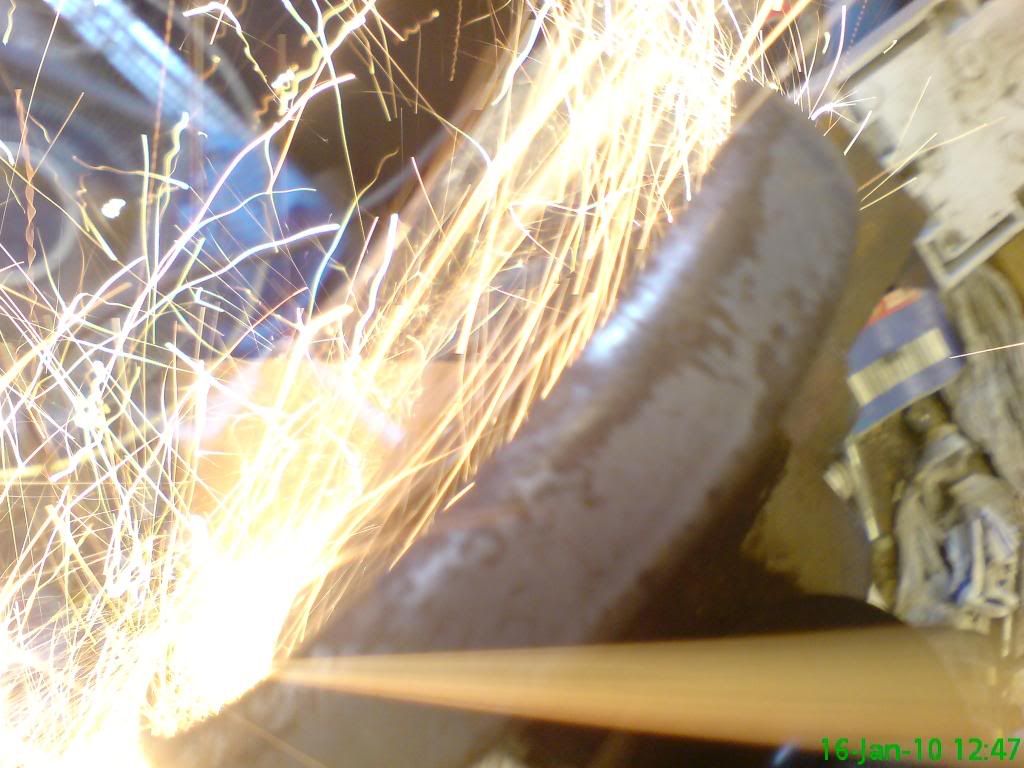
I really just break things so that I can angle grind stuff... or take pictures of me angle grinding stuff... honestly! (not really)
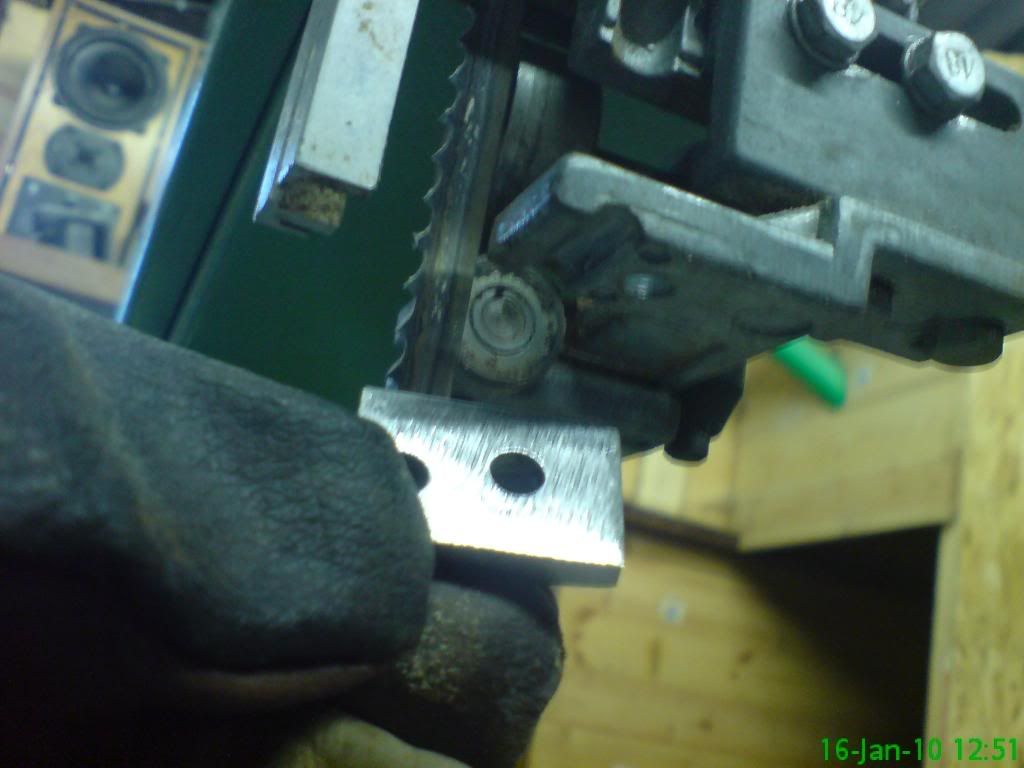
This is the replacement shoe which needs a slot ground in it.
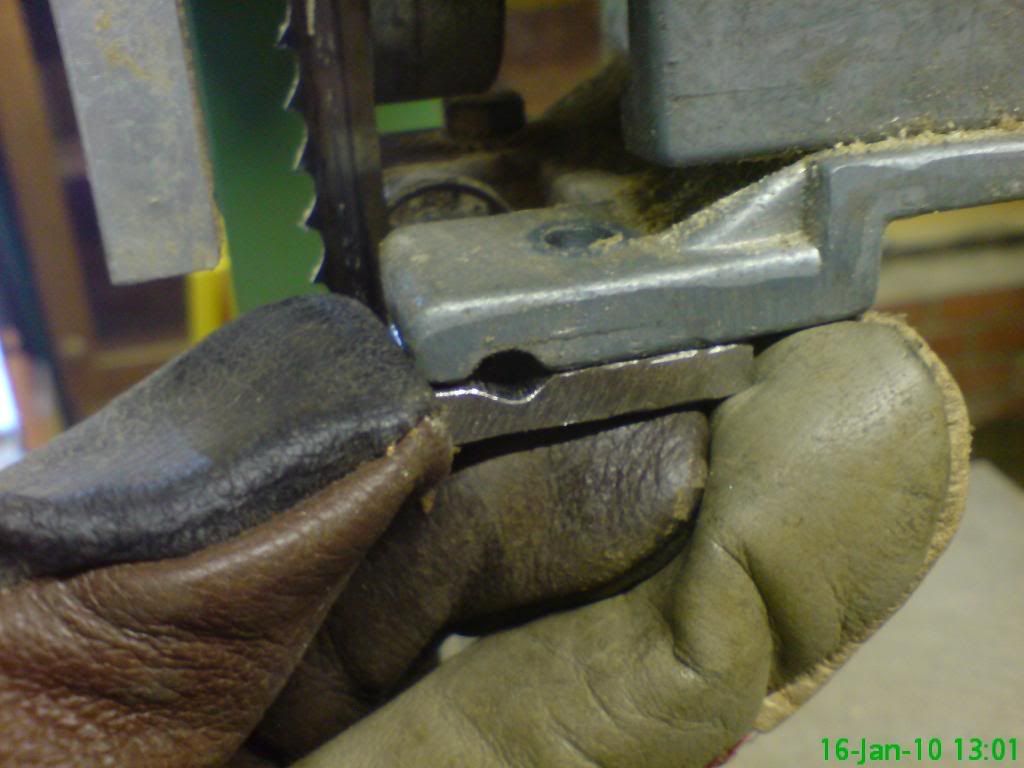
There is the shoe with the slot ground - far from perfect, but close to "good enough"!
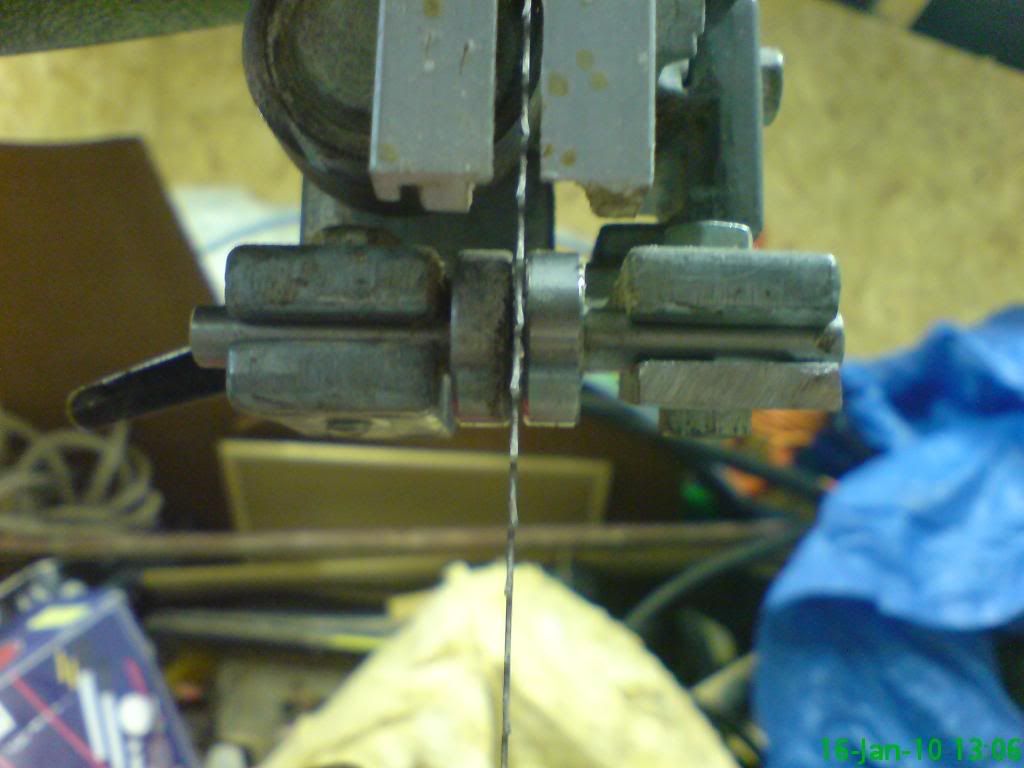
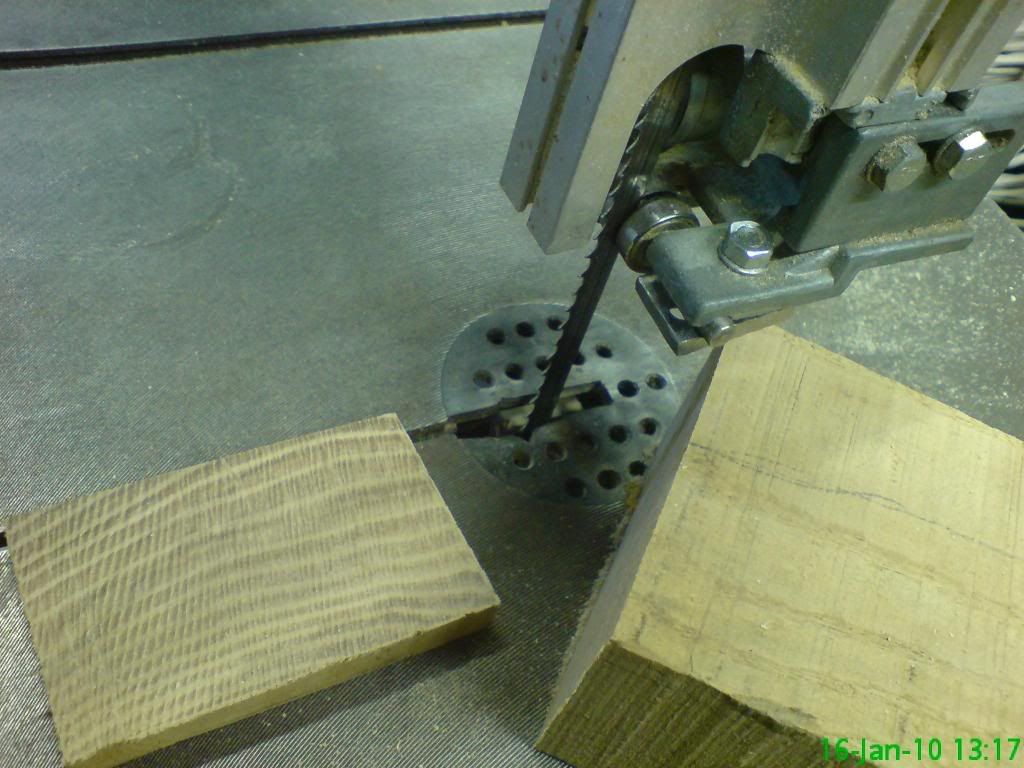
Here is the top support set correctly - all guides are not touching until pressure is applied in that direction.
And a cut from a piece of 2 1/4" Ash - all working well!
The owner before Ronnie had this set very poorly. (Ronnie used this saw once or twice, but never had the call to, so all comments apply to its previous owner) Out of interest I checked the bottom supports, and the right hand ceramic pressure support thingy (technical term) was deflecting the blade by almost 1mm - BAD. The rear support wheel was about 10mm from the blade!! BAD. All set properly now!
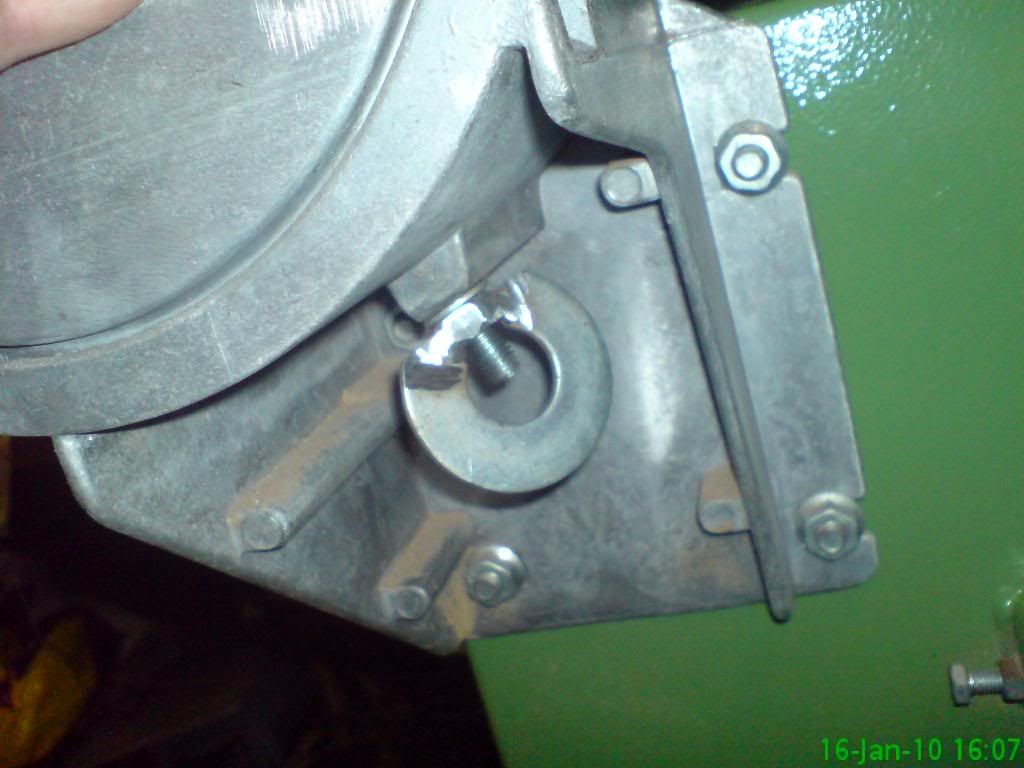
To get to those fixtures I had to remove the cast iron work top and the bolt that secured it was cast into a plastic wing-nut which had rounded and didn't grip any more. I broke that away, removed the bolt with spanners. I then cut a large washer and had my dad weld it to a suitable nut. I cleaned it up with an angle grinder (woo) and it works better than ever! (considering it never worked...)
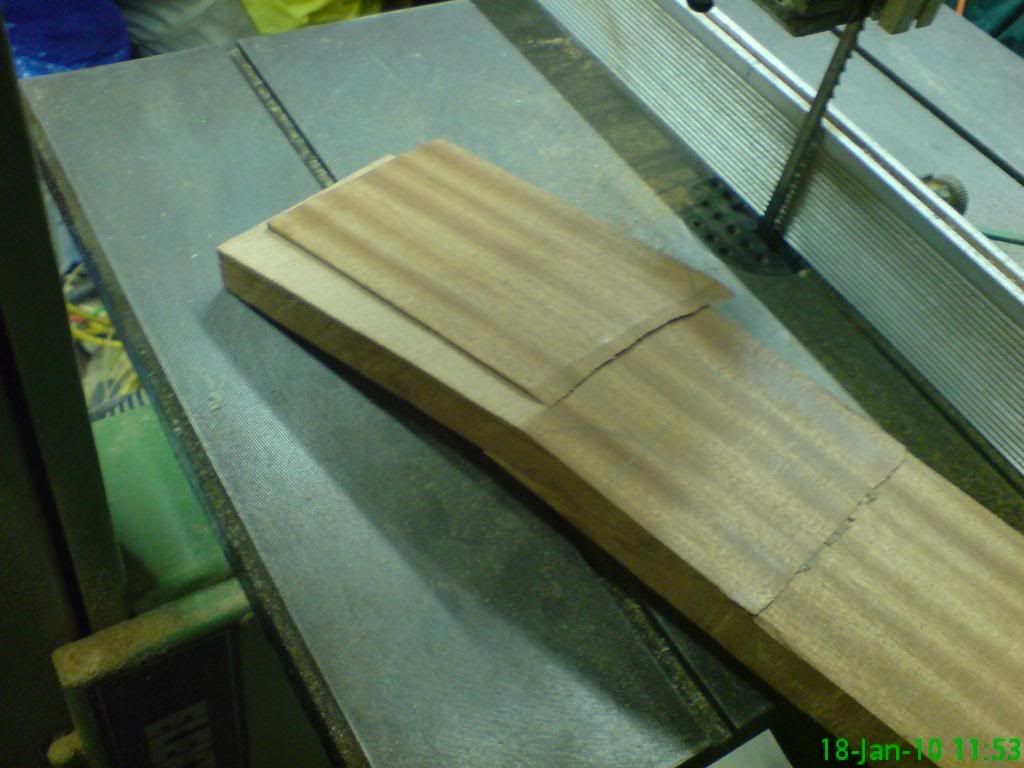
I will do the same thing for the guide stanchion on the front of the tool - same plastic rubbish nut. I put a wing-nut on there, but it is too small for my delicate fingers to work with! Here is an example of a rip-cut from a future guitar neck:
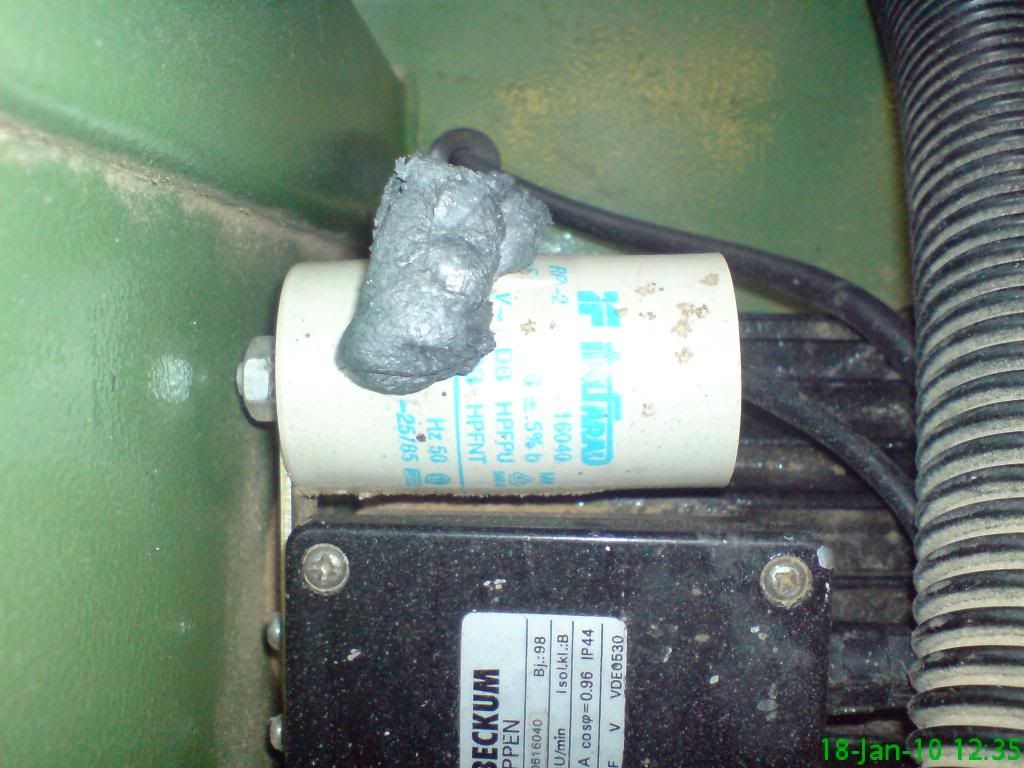
MUCH to my surprise the starting capacitor blew while I was lightly using the saw!! Now load on the motor wouldn't cause this, and there wasn't even much of that, so I guess it was defective, it is 12 years old after all. Still, I didn't want to see this:
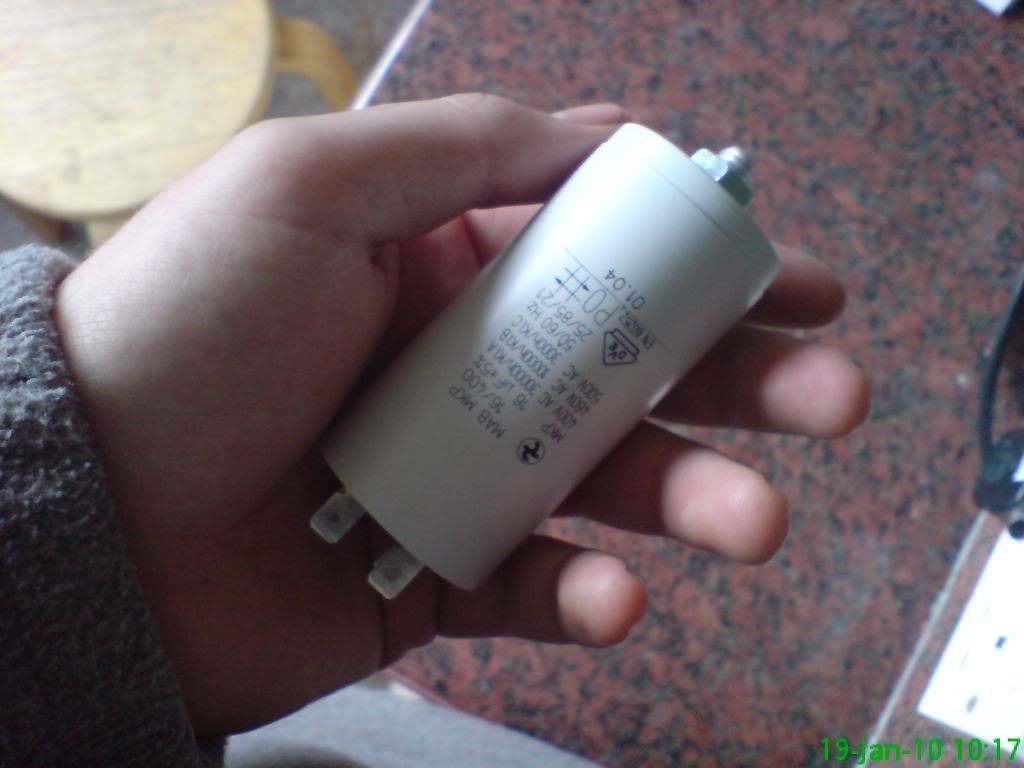
And for the grand price of £5.95 inc. postage I have a replacement part! For anyone running the Elektra Beckum or Metabo BAS315 (and 316/317 - the updates) the start capacitor for the 0.55kW motor is labelled "16400". It is 16 micro-farads @ 400V.
I have some good examples of scroll work to post up, but this post is long enough. I will sign off with a few points.
5/8" (15mm) blades for rip sawing large depths coming - 6 and 3TPI versions.
1/4" (6mm) blade @ 10TPI for general finer sawing on the way.
I found some suitable hardwoods locally. When I manage that bank job I will drop a bit of cash and start building more instruments.
I have 2 bass body wings cut and ready, and 1 guitar body wings cut and ready.
There will be an 8 string guitar this year.
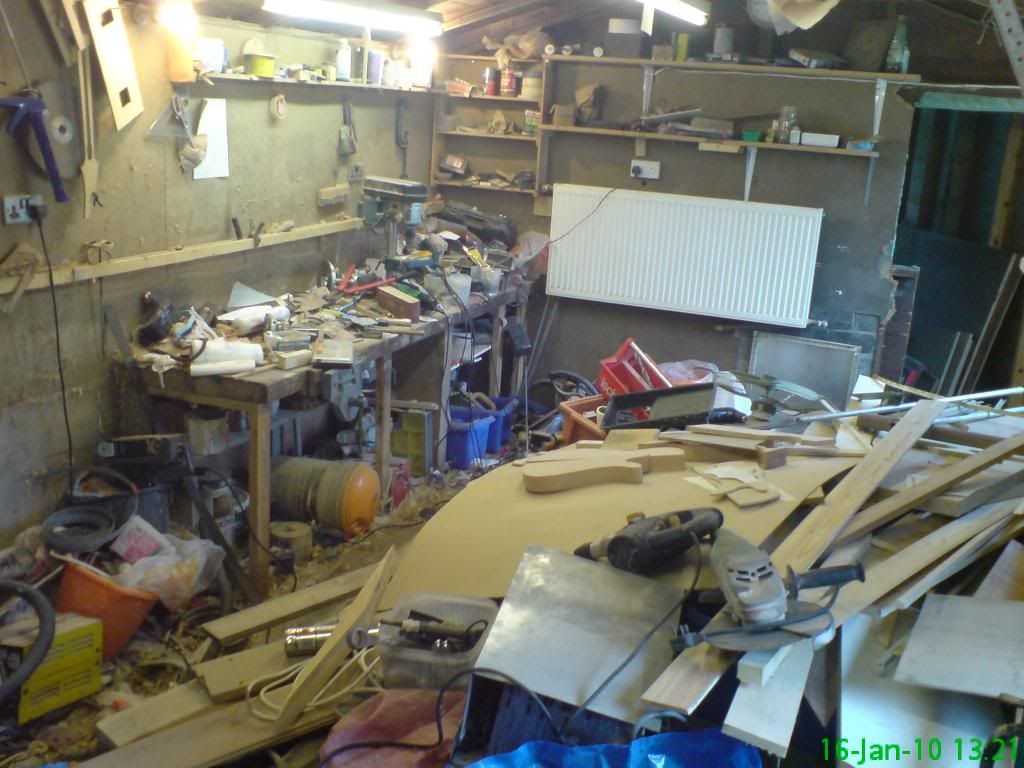
Finally, since no-one would believe this unless they saw it - this is half of the workshop... and tomorrow I start tidying.
Good night and God bless,
Mike
No comments:
Post a Comment